Budget Friendly Guide To A Shiplap Feature Wall
- Emily Roth

- Feb 3, 2019
- 3 min read
If you are in love with the shiplap look but not the price, this one's for you!

Supplies:
Liquid nails
5mm poplar plywood 4'x8'
0.6693"x8' painted composite inside corner wall panel moulding (Lowe's)
EverTrue 1.625"x8' pine primed finger joint crown moulding (Lowe's)
Caulk & caulking gun
Wood filler
Sandpaper (I used 150 grit)
2 nickels
Tools:
Table saw
Miter saw
Tape measure
Stud finder
Growing up I've always had a passion for creating a beautiful space with limited resources. At the age of 12 that consisted of pulling apart pallets to make furniture for my bedroom, DIY'ing all of my decor, and asking for my own tool set for my birthday. I wasn't the average 12 year old girl! Well things haven't changed much since.
Upon closing on our first home I spent days dreaming up all the ways I could make this house a home. From paint to floating shelves and shiplap walls. Taking on the more affordable projects first I began to check off my list. A year into owning our home I decided it was time to take on the shiplap wall. I was shocked to find out how much the real stuff cost, and quickly began searching for other options. I'm not always the best at researching, I'm more of a trial and error person. Luckily this trial didn't end in error! Please enjoy this easy to follow step by step guide to a budget friendly DIY shiplap wall!
Step 1: Measure your wall to determine the amount of plywood + trim pieces needed. Also find your studs and mark a line from ceiling to floor.
Step 2: Purchase all needed supplies from your local home improvement store. I purchased from Lowe's.
Step 3: Measure and cut plywood length wise to give you 6" strips that are 8' long. The last strip of each sheet of plywood will be just short of 6". If you are working from the bottom up like I did you will want to save the slightly smaller pieces for the top.
Step 4: Lightly sand your edges to smooth then wipe clean of any debris.
Step 5: Run a small amount of liquid nails creating a border on the back side of your 6" plywood plank.
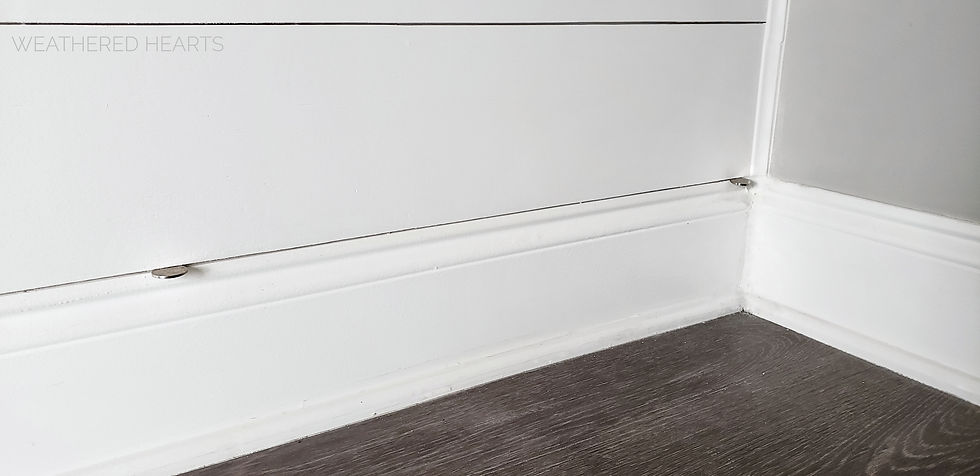
Step 6: Line your plank up to the corner of the wall and place a nickel at each end separating your plywood plank from your baseboard. Press firmly on your wall to ensure full adhesion of liquid nails.
Step 7: Use your finish nailer with 1 5/8" nails to reinforce each plank to a stud. You will want to at least nail your plank to the studs closest to each end though I chose to nail my planks at every stud.
Step 8: Unless you get lucky and your wall is exactly 8' you will need to measure at the end of your row and use a miter saw to cut some of your 8' planks to finish the length of your wall. I alternated each row to place the shorter plank at different ends so there wasn't a uniform line up the wall.
Here are a couple progress pictures for reference.


Step 9: Continue your rows of 6" planks up the wall using the spacing of your nickels.
Step 10: I have 9' ceilings so the 5.5" strips (the last plank of each piece of plywood) worked out great to finish off my final row. A small gap .5" or smaller from your ceiling is fine. It will be covered with a piece of moulding.
Step 11: Use liquid nails to line a border on the top and bottom of your crown moulding. Place and hold firm for a couple minutes to adhere. Grab your finish nailer and shoot a nail through the moulding into your studs. Make sure not to nail to close to the edges of the moulding as it could cause it to split.
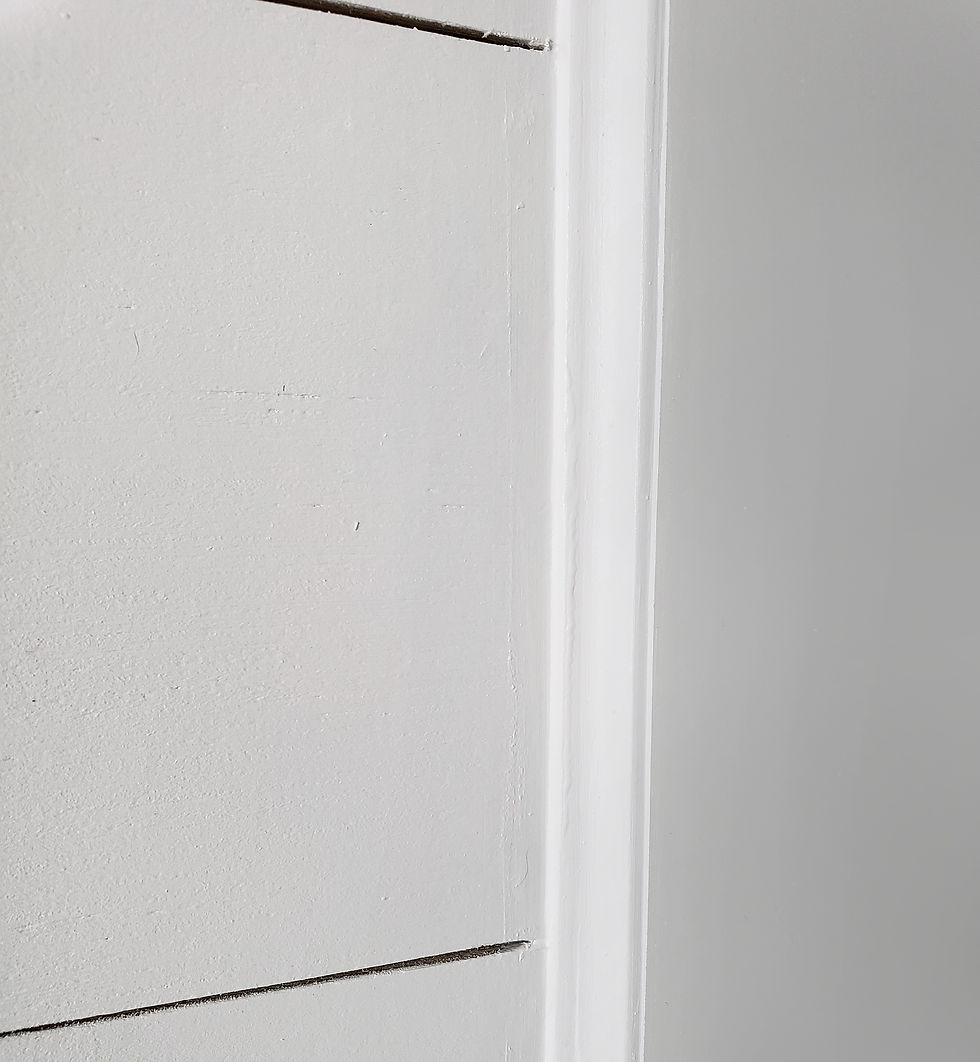
Step 12: Use liquid nails to line the back of your corner wall panel moulding. Line this piece up to the corner and press firmly for several minutes. Grab your finish nailer and nail approximately 4 evenly spaced nails per 8' moulding.
Reference picture of moulding.

Step 13: Use wood filler to create a seamless plank all the way across each row. You may also want to fill in any deep nail holes. Allow to dry for a minimum of 2 hours, some areas may take longer.
Step 14: Lightly sand to level out all wood filled areas. Wipe away all the debris.
Step 15: Caulk all your edges of moulding to fill any gaps between the ceiling and walls. Allow to dry. I let mine dry overnight.
Step 16: You may use a primer though it is not required. Paint using your choice of white paint and allow to dry. I used a custom blend of Dixie Belle chalk paint in the colors Fluff and Drop Cloth.


Voila! Enjoy your beautiful and budget friendly shiplap wall!
If you enjoyed this, please share it with your friends and family!
Comments